During my Icelandic adventure in Akureyri there were three big things on my wish list – try husky sledding, go whale watching and see the Northern Lights. Our holiday package included a Northern Lights tour, so my hopes were high, but I also knew there was no guarantee we’d get to see them.
Poor weather conditions postponed the tour on the first two nights and I began to resign myself to the fact we were unlikely to see them. Still, third time lucky I hoped, and on a cloudy Wednesday night we jumped on a coach and headed out of the town in search of that elusive natural phenomenon.
The sky was cloudy so the weather wasn’t on our side but we still stopped off in a few remote spots and closely watched the night sky for signs of movement or colour. After a long wait we began to disappointedly shuffle back to our coach when suddenly someone shouted out and hands began to point to the sky.
What to expect of the Northern Lights
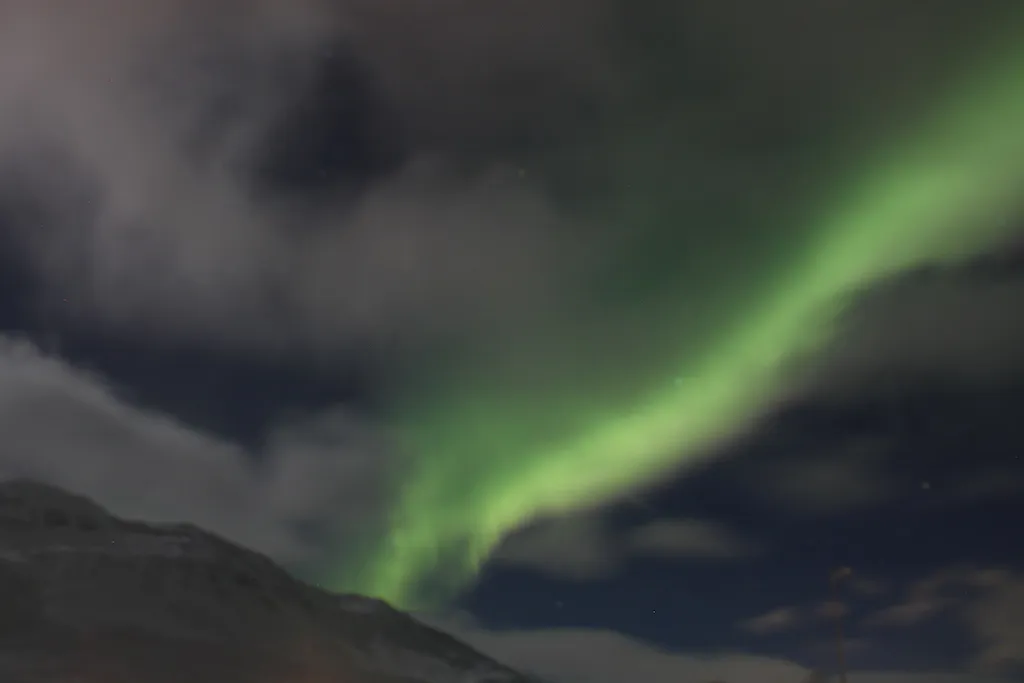
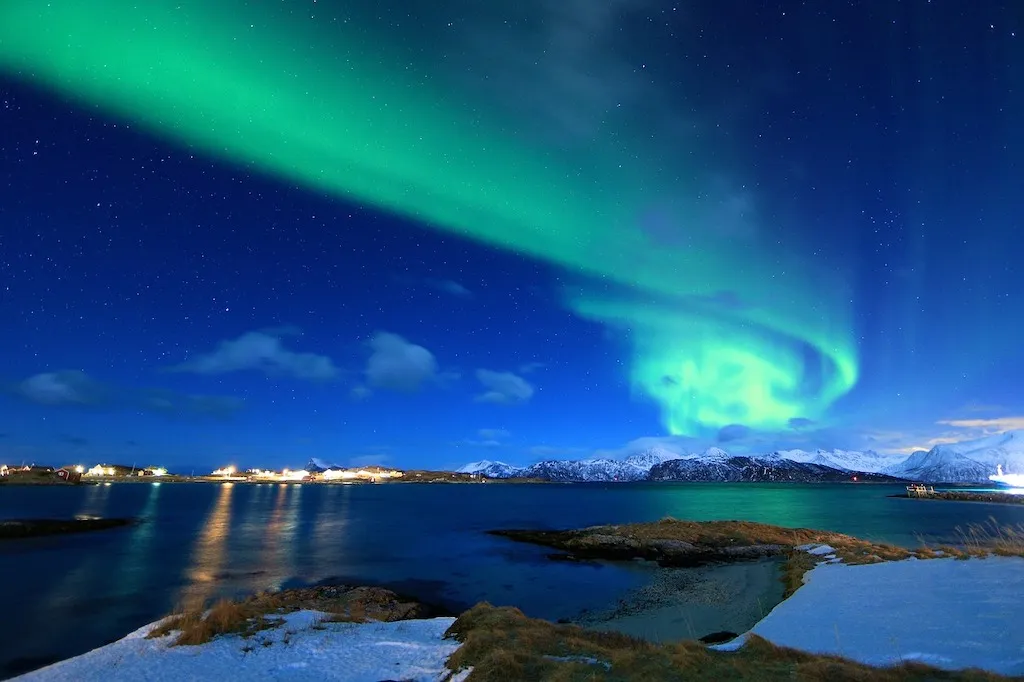
Our tour guide’s perseverance paid off and we were rewarded with an impressive show as the clouds broke up for a short while. But I have to admit at first they were not what I expected. Sure, you can have spectacularly bright shows of colour, but often, to the naked eye, they might be just slight wisps of grey in the sky.
When they called us out of the coach I was confused – looking up I couldn’t see anything apart from what looked like an airplane trail. This, I was told was actually the start of the light show. Grey to the naked eye, when I held up my phone and took a picture I could see a vivid green stripe! The strength of the colour ebbed and flowed during our lightshow – sometimes it was just a stripe across the sky but other times layers danced and swept across the entire night sky like a rainbow. It was spectacular.
Although you want to enjoy the moment, many of us also wanted to be able to take a special photo of this amazing sight and all across the field people set up their cameras hoping to capture an image of the Northern Lights to share with their friends. But photographing the Northern Lights can be tough, and we’re far from photography experts, so we asked some of the pros for their advice on getting the best shots of the Northern Lights. Here’s our guide…
When is the best time to see the Northern Lights?
Darkness is key to seeing the Northern Lights so the best time to view them is during the long cold months of November through to February. However, depending on where you are, and the weather conditions, you can see them at other times of the year.
“The Northern Lights can happen any time of year,” points out professional photographer Sheila Morris. “I recently saw an alert for them in April as there was a solar storm happening.”
Stuart Forster, a photographer and travel blogger over at Go Eat Do, has had several good Northern Lights photography sessions in northern Manitoba, Canada between August and April. “August is usually particularly good because it’s pleasant enough to stay outside and the sky is often clear,” he says.
Where are the best places to see the Northern Lights?
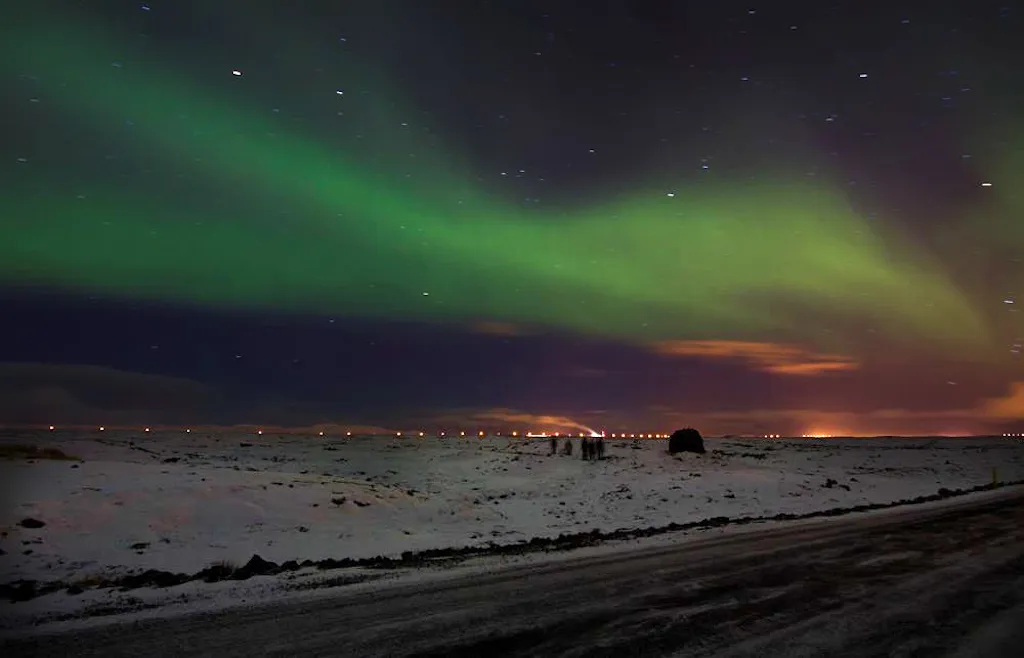
The best places to see the Aurora Borealis are near or above the Arctic Circle – Iceland, Norway or Sweden for example. However it is possible to see them lower if the conditions are right. Scotland has been known to host some special lights shows and there have even been reports as far south of the UK as the Isle of White!
Iceland is a popular choice says Paul Healy, from Anywhere We Roam, thanks to its ease of accessibility and the fact there are few cities to cause light pollution. But Abisko is considered one of the best places to view the Northern Lights “thanks to its reputation for being the driest place in Sweden. It has the most clear nights of anywhere along the Aurora belt,” Paul says.
What are the best weather conditions for viewing the Northern Lights?
Indeed, clear skies are a necessity to see the Northern Lights, so it’s helpful to check local weather forecasts before you head out.
Also take advantage of some of the helpful apps out there (see below) and visit websites like Space Weather, which reports the kp index, used to measure geomagnetic storms and help estimate how likely you are to see an aurora.
The best camera for photographing the Northern Lights
Stuart highlights that don’t need to spend thousands on a high-end camera in order to capture the Northern Lights. Point and click won’t do the job though; you need to have the ability to play around with manual settings. “You can use pretty much any camera, so long as it enables you to set the ISO, aperture and exposure,” he says. “I like to use a full-frame Canon SLR with a wide-angle lens (14mm) mounted on a tripod to eliminate shake.”
Gary Tubbs, the photographer behind Our World for You, also recommends a wide-angle lens. His size of choice however is 24mm, which helps capture more of the foreground. A remote shutter control is also a useful purchase as this helps you avoid any motion blur you might get from simply taking the shot. But a tripod is most definitely a must, as you can’t get those dazzling, wispy shots without one!
Our personal equipment of choice:
LWT – Canon 1100D
Sheila – Canon M5 and a Sigma 10mm-20mm wide-angle lens.
Paul – Canon 5D
Stuart – Canon 5D MKIII or Mk IV
Gary – Canon 1Dx MkII, and a Canon 24-105mm lens
Equipment checklist
- SLR or DSLR camera
- Wide-angle lens
- Remote shutter control
- Sturdy tripod
How to take pictures of the Northern Lights
Once you’ve got your equipment all set up, follow our tips to take the best possible shots.
- Set the ISO high – try 1600 or even 3200.
- Open your aperture as far as possible; so to the lowest f-stop number.
- Adjust the focus manually. “The best way to do this is zoom in as far as you can, set the focus on a building or mountain then zoom back out being very careful not to adjust the focus ring. If you have the option on your camera lock the focus,” advises Paul. Sheila’s trick is to set the focus to infinity ∞, which helps the stars not appear like blurry spots while keeping the rest of the scene in focus.
- Take your shot using a remote shutter release to avoid knocking the camera. If you don’t have a remote you can set the camera to delay – like you would if taking a selfie.
- Your exposure length depends on your light conditions. Start with an exposure of 20 seconds and from there you can work out whether you need more or less time.
- Remember to turn off your image stabiliser when taking long exposures.
- Have a look at your shot and adjust the shutter speed if needed – “if its’ too bright and lacking detail reduce the shutter speed. If it’s too subtle increase the shutter speed,” Paul says.
Useful apps for finding and photographing the Northern Lights
I actually managed to take a few shots of the lights with my iPhone 8, but they weren’t particularly impressive, as you can see. If you want to have a go however, I recommend getting the app Slow Shutter, which helps you get the best possible pic.
For finding the Northern Lights Sheila recommends the app Aurora, which shows a map of where the aurora is happening and will alert you if you set notifications up. “Green means the intensity of the storm is low, amber, you’ve got a good chance of seeing it. Red, you’re on for a pretty good night of aurora activity. Keep an eye on the colours as they change often,” she notes.
If you’re hunting for Northern Lights in Iceland then Gary recommend the Iceland Aurora Alert app, with its kp index. “Anything above two and you have a chance of seeing the lights, but above four is when you should get excited. It’s updated every three hours, but be warned it can drop from a six to a two, so try to keep calm!”
Our final tips
We’ll leave you with a few final words of wisdom from our photography gurus…
- Have a fully charged camera battery and plenty of spares. Taking long exposures can drain the battery. The cold will also drain it quicker too.
- Don’t use the flash on your camera – it won’t help you capture the lights at all.
- Be prepared for the cold – wear plenty of layers, thermals, and bring a thermos of hot drink.
- Some hotels offer an aurora alert service, where they will call your room to let you know when they’re happening.
- Take a torch with you, and one that has a red light is particularly useful. The white light helps you see where you’re going, but once you’re set up the red light allows you to keep your eyes adjusted to the darkness.
- You can capture some displays with your camera that isn’t obvious to the naked eye. If you see a few grey wisps or pale clouds why not set your kit up and take a couple of shots just to see what comes out?
- Finally, just go out and enjoy the experience and don’t put too much pressure on yourself!

