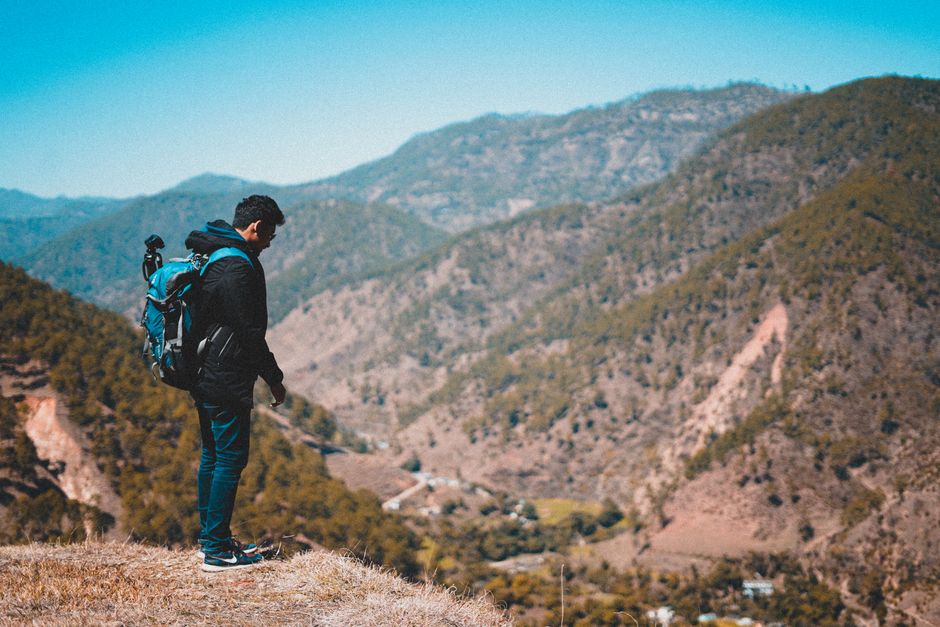
Most travel photos are boring. Not because the place was boring. Because the person behind the camera made three predictable mistakes: bad light, shaky hands, cluttered frame.
Fix those three things, and your pictures jump from “meh” to “wait, did you hire a photographer?”
Here are five rules that work with any camera — iPhone 15 Pro, Sony A7 IV, or a $200 point-and-shoot.
1. Golden Hour Is Not a Cliché — It’s Physics
Harsh midday sun creates hard shadows and blown-out highlights. That’s why pro photographers shoot at sunrise and sunset. The light is softer, warmer, and wraps around subjects.
The rule: Shoot within 60 minutes of sunrise or sunset. That’s it. If you’re shooting at noon, find shade or use a diffuser.
What “Golden Hour” Actually Does to Your Photo
At 8 AM, the sun is low. Light travels through more atmosphere, scattering blue light and leaving warm oranges and reds. At 1 PM, light is direct and harsh. Faces get raccoon eyes under eye sockets. Landscapes lose texture.
What If You Can’t Wait for Golden Hour?
Use a polarizing filter on a DSLR or mirrorless camera. For phones, switch to portrait mode and expose for the shadows. Then brighten shadows in Adobe Lightroom Mobile or Snapseed.
One more thing: check the weather app for cloud cover. Thin clouds act as a natural diffuser. Overcast days? Those are actually great for portraits and forest shots. No harsh shadows.
2. The Rule of Thirds (and When to Break It)

Your camera’s grid lines exist for a reason. Turn them on. Divide the frame into nine equal rectangles. Place your subject on one of the four intersecting lines.
Dead center is boring. Your brain expects symmetry. A subject placed off-center creates tension and movement.
How to Use the Grid on Your Phone
- iPhone: Settings → Camera → Grid → On
- Samsung Galaxy: Camera settings → Grid lines → 3×3
- Google Pixel: Camera settings → Grid type → 3×3
Once you’ve got the grid, practice placing horizons on the top or bottom third line. Never in the middle unless you’re going for a reflection shot.
When to Ignore the Rule
Symmetrical scenes — like a long hallway, a reflection in water, or a building facade — look better centered. Use the grid to check alignment, then center your shot. Symmetry is the one exception where center works.
3. Sharpness Comes from Stability, Not Megapixels
A 50-megapixel camera means nothing if the photo is blurry. Camera shake ruins more travel photos than bad composition.
The fix: Use a shutter speed faster than your focal length. Shooting at 50mm? Use 1/50 second or faster. 200mm? 1/200 second minimum.
No Tripod? No Problem
Three hacks that work anywhere:
- Lean against something solid. A wall, a tree, a lamp post. Brace your elbows against your ribs.
- Use the 2-second timer. Tapping the shutter button introduces shake. The timer removes it.
- Burst mode. Hold the shutter down for 3-4 frames. One will be sharper than the others.
For phones: turn on night mode on iPhone or Astrophoto mode on Pixel. These modes take multiple exposures and align them digitally. The result is sharp even handheld.
What About Image Stabilization?
Most modern cameras and phones have in-body or lens stabilization. The iPhone 15 Pro has sensor-shift stabilization. The Sony A7 IV has 5-axis IBIS. These help, but they don’t replace a steady hand. Still use the techniques above.
4. Light Meters Lie — Learn to Expose Manually
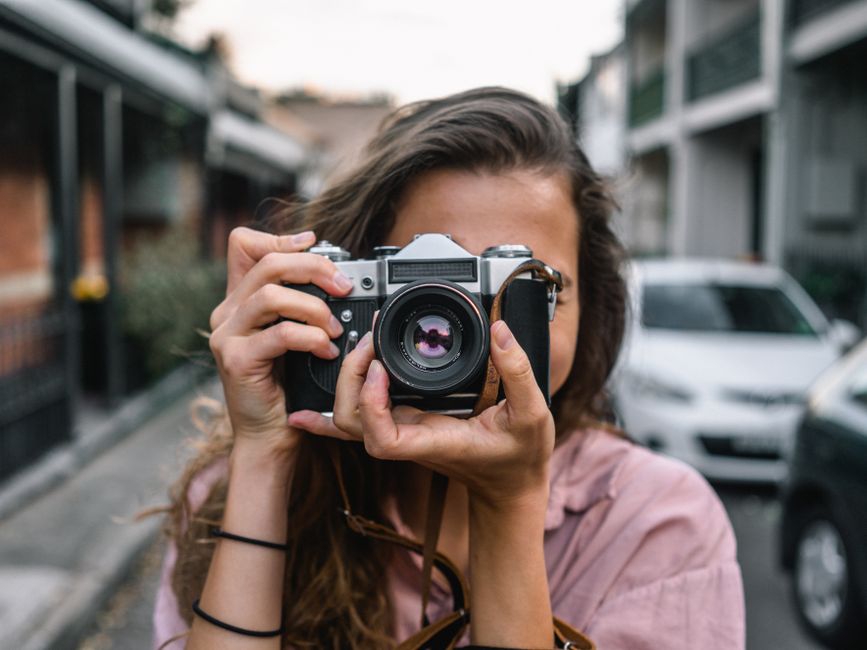
Your camera’s light meter tries to make everything middle gray. That’s why snow scenes come out gray and dark. The meter sees white, thinks it’s too bright, underexposes.
Fix: Use exposure compensation. Dial it up (+1 or +2) for snow, sand, or white buildings. Dial it down (-1) for dark scenes like night markets or caves.
How to Do It on a Phone
Tap the screen to focus. Then slide your finger up or down on the sun icon next to the focus square. Up = brighter. Down = darker.
On a proper camera: use Aperture Priority mode (A or Av). Set your aperture to f/8 for landscapes, f/2.8 for portraits. Then use the exposure compensation dial to adjust brightness.
Histograms Don’t Lie
Turn on the histogram in your camera’s viewfinder or on your phone’s editing app. A histogram is a graph of brightness. If the graph is smashed against the left edge, the photo is underexposed. Smashed against the right? Overexposed. Aim for a bell curve in the middle.
One mistake people make: They expose for the sky, making the ground too dark. Instead, expose for the subject — usually the ground or people. The sky can be recovered in editing.
5. Edit Less, Crop More
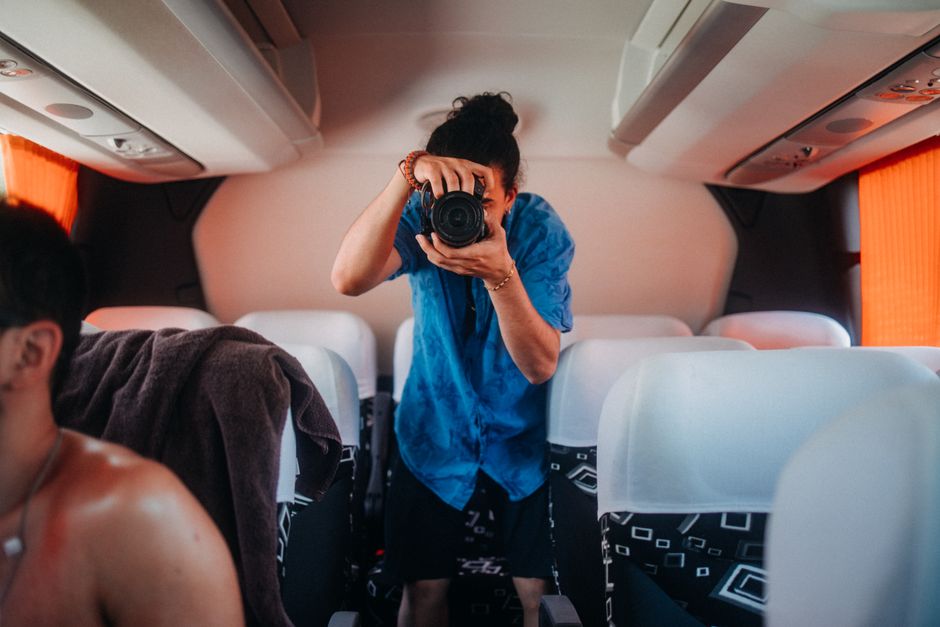
Editing is not cheating. But most travelers over-edit. Saturation sliders go to 100. Contrast gets cranked. Photos look fake.
Better approach: Crop first, then adjust exposure, then color. That’s it. Three steps.
The Crop Fixes Composition
Open any photo. Ask yourself: “What’s the subject?” Crop everything else out. A good crop removes distractions. It tightens the story.
Stick to standard aspect ratios: 3:2 for prints, 4:3 for social media, 1:1 for Instagram. Avoid weird crops like 16:9 for portraits.
What Editing Apps Actually Work
You don’t need Photoshop. These three are enough:
| App | Best For | Cost |
|---|---|---|
| Adobe Lightroom Mobile | Exposure, color, noise reduction | Free (basic), $10/mo (pro) |
| Snapseed | Selective adjustments, healing brush | Free |
| VSCO | Film-style presets, subtle color grading | Free (basic), $20/yr (pro) |
My pick: Lightroom Mobile for exposure and color. Snapseed for removing tourists or power lines from backgrounds. VSCO only if you want a specific film look like Kodak Portra.
One Edit That Transforms Every Photo
Decrease highlights. Increase shadows. That’s it. This recovers details in bright skies and dark corners. Do this before touching saturation. You’ll find you need way less color boost.
The single most important takeaway: Light and stability matter more than the camera you carry.